March 7 was once again declared a national holiday. At least if you’re a shed hunter. Thanks to friends of whitetail Properties for continuing the idea of a national shed hunting day.
March 7 will be the annual “shed rally”, where men and women across the United States who like to look for hidden treasure in the form of antlers will post their findings on social media. It’s more important than watching what other people eat for lunch.
For those who may be new to shed hunting or have a thirst to learn more, here are seven simple tips that may help you locate hidden bone on March 7th.
Contents
- 1 1. Start In The Backyard
- 2 2. Take Time To Pre-Scout
- 3 3. Check Food Sources, Cedar Thickets And South Facing Hillsides
- 4 4. Keep The Sun At Your Back
- 5 5. Use Your Binos Or Spotting Scope
- 6 6. Don’t Look For Sheds
- 7 7. Shed Hunting 101 – Be Patient
- 8 8. Limit Pressure When Shed Hunting
- 9 9. Walk, Stay Focused And Keep Encouraged
1. Start In The Backyard
If you’re new to this addictive quest, the first place to begin shed hunting is in your backyard. Seriously!
If you have access to an antler of any kind, place it in multiple locations, subject it to various lighting and study its features as it’s lying in different forms of undergrowth in or around your yard.
Using this little exercise is how I taught my boys to shed hunt. This practice session will allow your eyes and mind to process the texture, color, size, and contrast of an antler to its surroundings; making it easier to pick out an antler when legitimately shed hunting.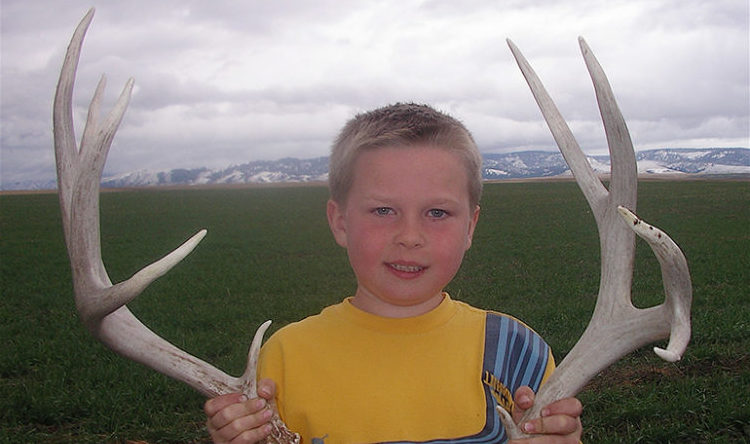

2. Take Time To Pre-Scout
Since there are no guarantees when a buck might shed, the shed hunter is left in a dilemma. As bad as we want to ‘bust the brush’ and locate sheds, we must also recognize if we apply too much pressure on a buck before he has shed, there is a risk of pushing him off the property and losing the opportunity altogether.
Strategic pre-scouting will help locate winter travel patters in the particular area where you will be shed hunting at a future date. If you have snow, use it to your advantage. Snow can help you find where the majority of deer are entering food sources and traveling to and from bedding. Spending some time pre scouting will serve to your advantage when it comes time to go deeper in the brush. Now that bucks are in their home winter ranges, focus on finding where deer are feeding, bedding and transitioning to and from these key areas. Once you have located primary feeding areas, search by backtracking to bedding. As much as food sources seem to be the starting point when shed hunting, they are not the only place to locate sheds. If deer have endured extremely cold temperatures, thermal cover will be at the top of our list when March arrives. Thermal cover can include a cedar thicket, a pine grove, or anywhere a buck can get out of the wind, conserve energy and possibly find a place out of the deep snow. (We have recently been working on getting permission to shed hunt a very dense cedar thicket. It may require crawling on our hands and knees but I have a hunch we might find some sheds there.) South facing hillsides are another winter favorite. Just the other day we saw some deer standing motionless on a sunny slope. Although the temperatures were below zero, the deer were enjoying the warm sun. Any southward facing point, funnel or small meadow will also be a place you’ll want to check for dropped antlers. Also consider searching fence crossings, creek crossings and any place a deer might ‘jar’ his antlers will often yield good results. If you have access to pasture land, look for areas where the snow may be melting and the first signs of green appearing. Anywhere deer might graze on some green, even though it is outside their normal feeding area, is a potential area to locate sheds.3. Check Food Sources, Cedar Thickets And South Facing Hillsides

4. Keep The Sun At Your Back
Although cloud cover is preferred when shed hunting, on bright days try to keep the sun at your back. This will allow the sun to illuminate the antler and will keep shadows lying directly away from you.
If you own a pair of polarized sunglasses, take them along if the sun is shining. This will not only relieve the stress on your eyes, but will reduce contrasts and make it easier to spot a shed.
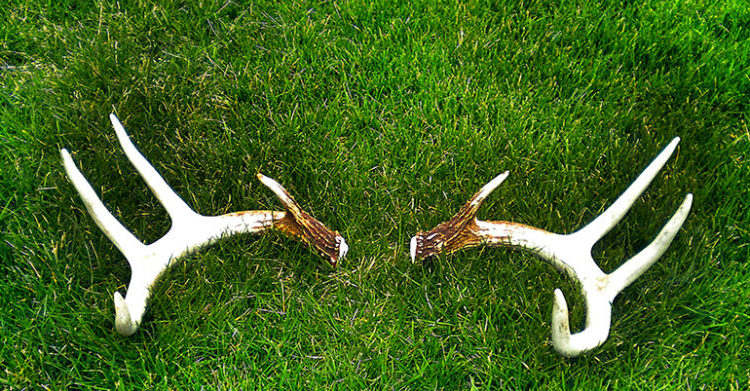
Keeping the sun at your back is also beneficial when glassing with your binoculars. An antler can stand out like a sore thumb if the light hits it just right. I remember when living in Idaho I took a friend shed hunting who had never glassed for sheds.
After getting the sun at our back it was only a matter of minutes before I had glassed up a matched set of sheds on the opposite hillside—thanks to the sun and a little luck.

5. Use Your Binos Or Spotting Scope
It wasn’t until some patient Western hunters taught me how to glass effectively that I came to appreciate what you can see with good optics.
Never underestimate what a deliberate scan of a field can expose. Don’t rush it and slowly work your binoculars or spotting scope in a grid pattern. If in an area where you can scan a south facing slope with your bino’s, you will be surprised how much ground you can cover by sitting down and glassing. You might be astonished how well you can locate sheds with a little help from a pair of optics.
Always take your binoculars and use them to your advantage.
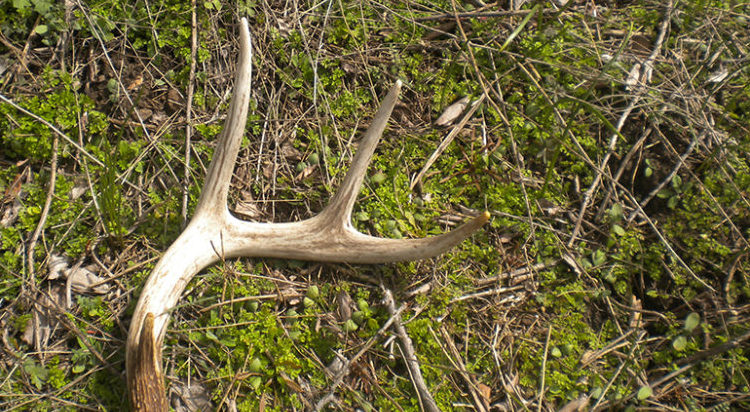
6. Don’t Look For Sheds
You’re probably saying, “Huh?” Let me explain.
When learning to glass through a spotting scope, an Idaho friend used to tell me, “Don’t look for a deer, look for a piece of a deer.” When looking for a shed it’s easy to have a preconceived idea of what a shed will look like. You may picture it lying where you can see it in its entirety or at least see the majority of the antler. The temptation is to look for an entire shed.
Changing the visual in your mind to focus on looking for a smaller piece of the shed will help you locate more bone.7. Shed Hunting 101 – Be Patient
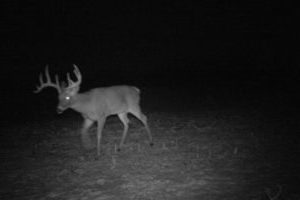
 There are some avid shed hunters already finding some envious bone and the temptation is to go tromp through your favorite honey hole hoping to locate a fresh thrown antler. But, if your trail camera shows the majority of bucks are still holding, don’t rush it.
Our strategy for shed hunting this time of year is to walk edges and stay out of our bucks bedding or core areas. If we know the majority of bucks haven’t shed, our shed hunting consists of walking fence lines and glassing open hillsides.
8. Limit Pressure When Shed Hunting
The goal is to limit the pressure we place on bucks. Too much pressure on a mature buck means he could easily travel to property we can’t shed hunt and there goes our chance of finding his trophy crown.
It’s hard to wait, especially when you know there’s a chance of finding some booner bone. Yet, we all know the reward will be worth it. Take it slow and you just might increase your chances of finding that trophy shed.
9. Walk, Stay Focused And Keep Encouraged
Although I begin every shed hunt with anticipation, I also wear comfortable shoes.
Depending on where you reside and the density of your deer population, shed hunting can require walking countless miles before you’re lucky enough to find that hidden treasure. Prepare yourself mentally and wear appropriate footwear.

Spending all day looking for a needle in a haystack can be tiring. But staying focused on the objective is key.
Shed hunting isn’t for everyone. It’s not easy to have big hopes and then never find a particular buck’s sheds. But keeping in mind that shed hunting is a great time to enjoy the outdoors and have fun no matter the outcome will help keep you encouraged. Plan to stay all day, pack a good lunch and enjoy trekking in the outdoors.