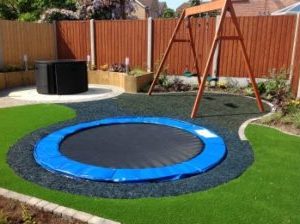
 The in-ground trampoline is the perfect device for recreation and with the help of which you can be healthy as well. The in-ground trampoline is safer than any other type of trampoline. So the installation of such type of trampoline is a very wise move.
Installing this type of trampoline makes you feel better and safer, but it’s not apple pie. If you plan to build a trampoline like this in the garden, there are many things to keep in mind.
The installation of a trampoline on the ground is not as simple as it seems. You can’t just dig a hole and leave it there, but a lot of things need to be taken care of.
Areas where indoor trampolines must be installed should be properly drained to prevent flooding. In addition, a wall needs to be built around the trampoline, as well as a very effective drainage system.
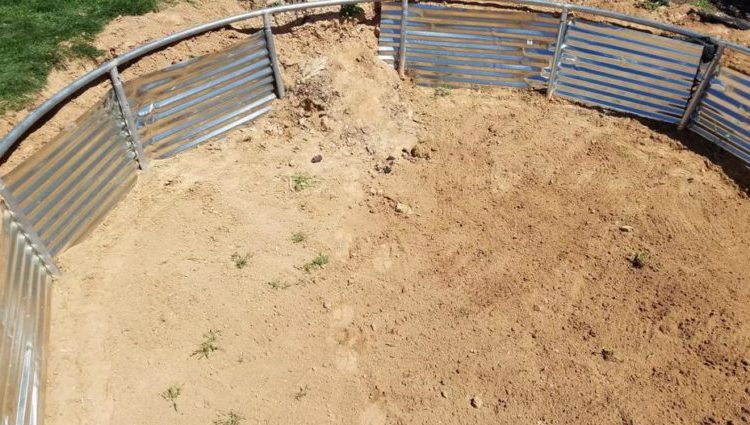
How to Prepare the Ground
The most important part of the installation of the trampoline is the preparation of the ground.
The surroundings have to be favorable or else there is a risk of the trampoline sinking. The drainage system of the area should also be taken into consideration and the quality of the soil as well.
The pit where the trampoline has to be put should be scrutinized very well as the hole should be of the perfect size so that there is no problem with the installation of the in-ground trampoline.
So you Decided to Mount an In-ground Trampoline?
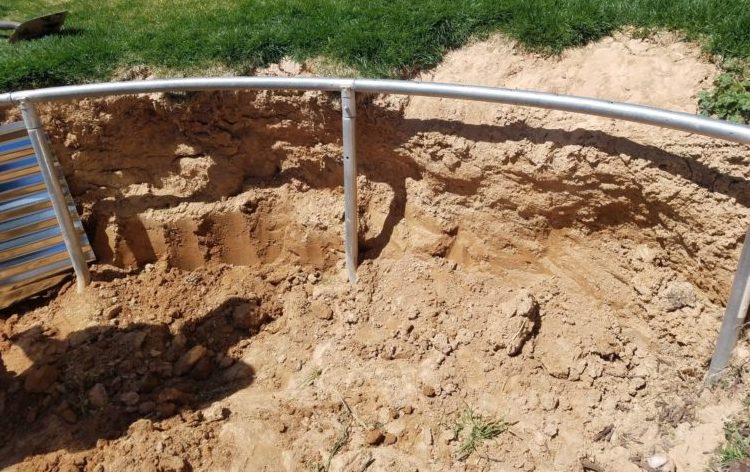
#1 How Deep do You Dig for an In-ground Trampoline?
The in-ground trampolines normally sit just over a pit that is 27 to 29 inches deep.
To do this, you should dig deep into a pit of 13.6 feet in size on the top of the trampoline that sits above the ground and also 12.6 feet in size for the most affordable component of the pit. If the in-ground trampolines must be assembled in the pit areal, then the pit size needs to be 14.6 feet on the top as well as 13.6 feet on the bottom.
#2 Drainage System
The whole in-ground trampolines system will be 33 inches high to permit the trampoline to be four to 6 inches over the quality.
If the location needs added measures to completely drain it could be beneficial to include 4 to 6 inches of crushed rock to the bottom of the pit permanently drainage and avoidance of standing water. If the area is particularly wet, a sump pump might be required too.
This is a concern for the neighborhood landscaping professional regarding local dirt conditions as well as the drain.
The website surrounding the in-ground trampolines should have a minimum of 18 feet overhanging clearance and also absolutely nothing bordering the location for 6 feet about. The ground must be soft with impact promoting yard, sand, wood shavings or various other forgiving product.
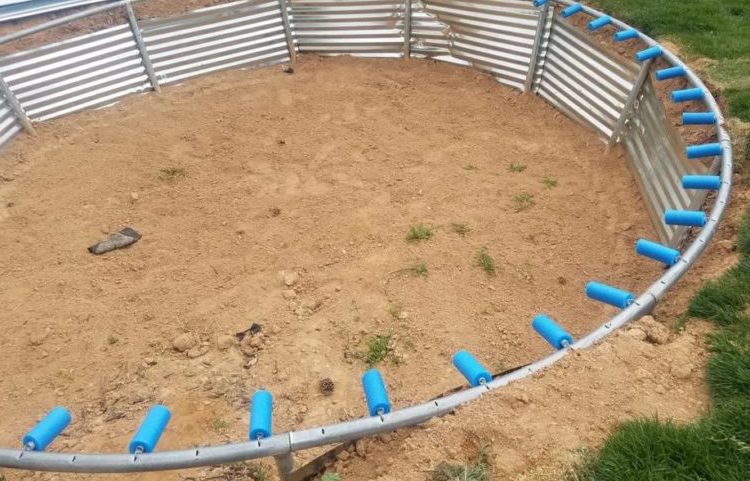
#3 Frame Layout
Prior to you start digging for the foundation for the in-ground trampoline, collect and arrange all the consisted hardware as well as parts for the in-ground trampoline.
These parts generally consist of the following: top framework sectors, bottom frame sections, side panels, rubber side protector strips, pad set, jumping surface, springs, bolts, nuts, washing machines, screws and also a tool kit.
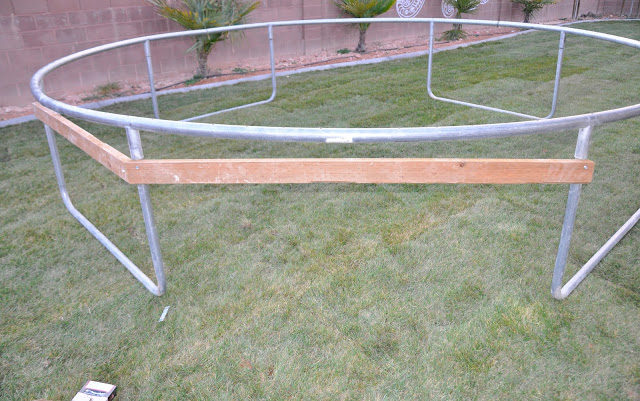
After you have actually done that, set the panels out in a big circle.
The layout provided for the reduced framework will certainly aid in marking the pit for excavation. See to it the springtime holes on the top structure are encountering up. Attach bolts and also screws yet just loosely to permit movement of the system throughout assembly as well as bolt alignment.
Using a lengthy screwdriver to make it possible for hole positioning is advised. Assemble the lower ring again leaving screws freely secured. Overlap 3 panels on the ground upon each various other to line up openings.
#4 Install Parts
Attach top holes to panel holes and to upper structure with the bolt as well as washing machines on the panel side, nut as well as a washer on the frame side, keeping springtime holes facing up on the top frame, once more freely tightened up.
Attach upper as well as reduced frame rings using proper screws and washers and nuts and washing machines, leaving all loosely fastened. Affix one panel at once from lower bolts to upper with an Allen wrench.
Continue up until total after that tighten up all screws.
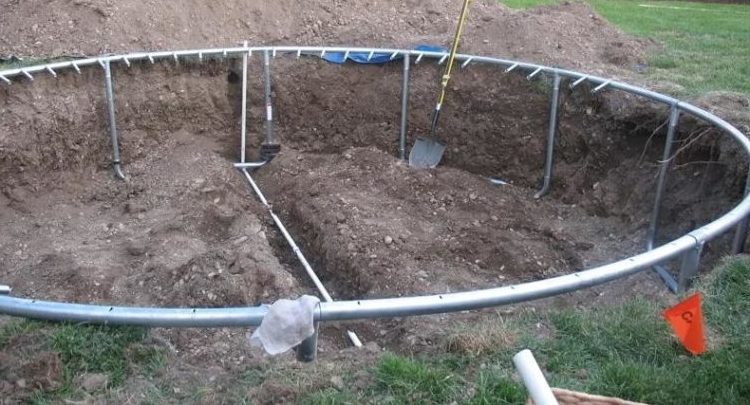
Area frame in the pit and also back load dirt making ridge rising to the side of the device.
Install the side springs.
There will certainly be frame and mat holes for every springtime. Very carefully examine the pattern to see that each springtime is linked.
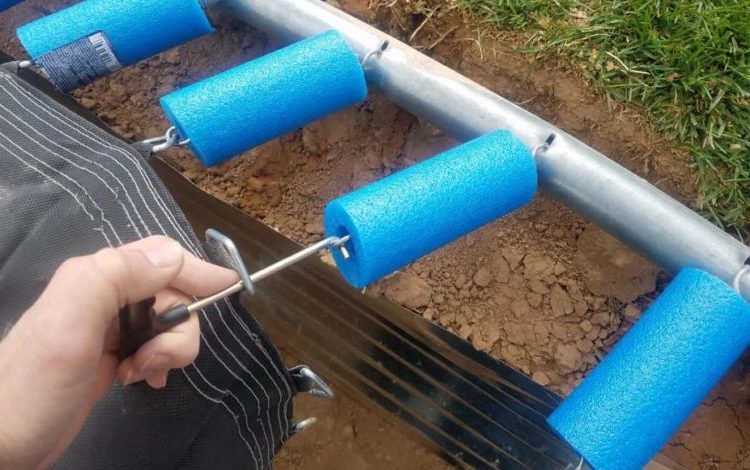
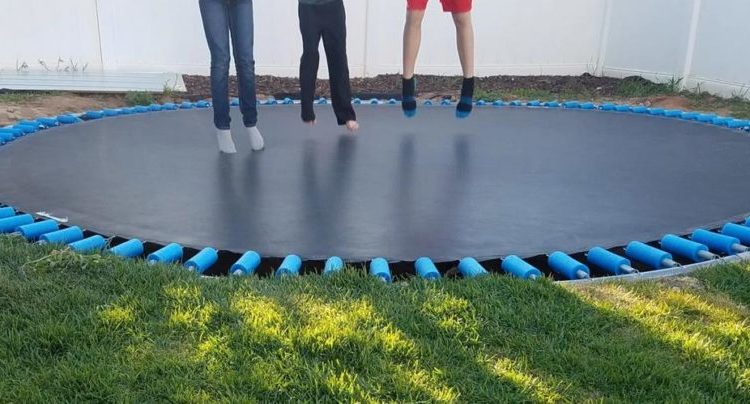
Mount the Edge guard pad making sure all links are complete. Do safety and security checks and enjoy the in-ground trampoline.
Conclusion
It’s not as easy to set up a trampoline as it looks. You can’t just dig a hole or leave it there, but there are a few things to pay attention to.
Where a trampoline needs to be installed, there should be a proper drainage system to prevent flooding.
In addition, walls around the trampoline and a truly effective drainage system are equally needed.